Showing posts with label DIY. Show all posts

Thursday, January 31, 2013

Goodwill Chair Makeover

Pin 


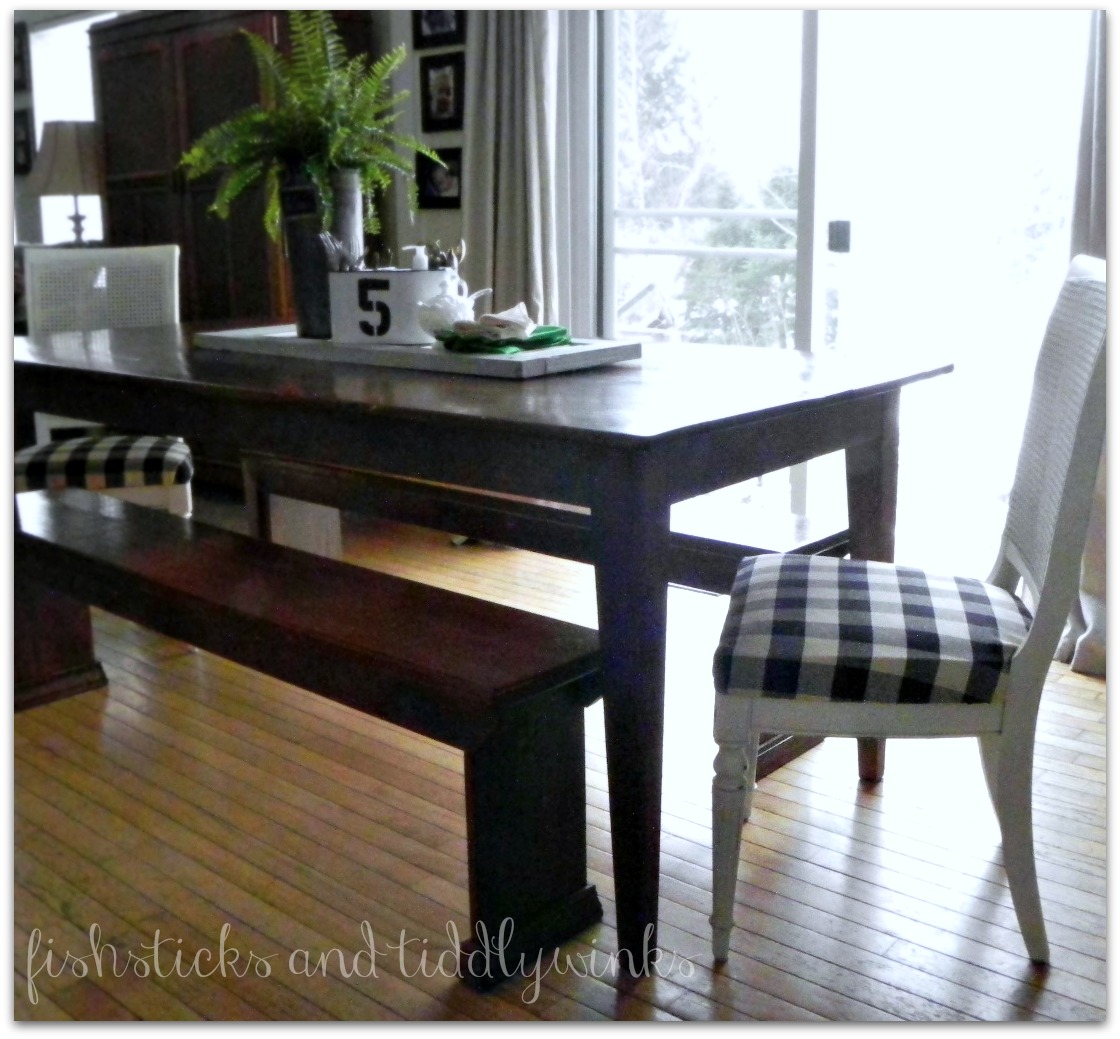
This weekend my friend and I braved the Midwest weather to try and find her a dresser for her new flat screen to sit on. We struck out on the dresser but I did find myself a couple of cute cane back chairs at goodwill for$ 4.99 each!  


About 4 years ago my dad made me a six foot long farmhouse table (yup, he's awesome) and benches to match.  I have been on the lookout for a couple of chairs to go at the head of the table for a dog's age, so I was super excited to find these guys!

They were a little beat up but the canning was all intact, they just needed a little pep talk.  I removed the seat and spray painted the chairs with a primer.  It took pretty much an entire can of Rustoleum's Heirloom white to cover both chairs. 


I sanded down the edges and any areas that might be distressed with natural wear and tear. 


 I painted some glaze onto the chairs wiping it off almost as soon as it went on.  The glaze just gives it that extra, gritty, old effect.  

Since my children beat the holy Hades out of everything, I have just decided I'm going for the "shabby, distressed, beat to hell" look (that's a thing right?).


I polished them up with furniture wax just to add some extra protection.

 I recovered the cushions in a black and cream fabric I bought at hobby lobby awhile back and viola!  

Chairs for my kitchen table.  Whew, that only took 4 years!


We are obsessed with honey badger around our house so my mom got me the pillow from etsy for Christmas.  I giggle every time I look at that little stinker in his crown.  

Our new little little kitty approves.  


One last before and after:


P.S. I'm linking up with these awesome blogs:
skip to my lou - made by you monday
thrifty decor chick - february-before-and-after

Tuesday, May 22, 2012

New Stairs!

Pin It

Oh my Lawdy!  I feel like I have abandoned this little blog!  I have just been crazy busy lately.  


I FINALLY finished this project and wanted to write about it!  I  have longed dreamed about doing something with my stairs.  Ripping the whole thing down and using a ladder even crossed my mind.  I mean really, the boys would just love me!  Or better yet a rope swing.  They could just swing down like Tarzan in the morning.  Coolest mom EVA!  No worries I haven't totally lost my mind.


Here are my lovely stairs before:


Snooze.  Not to mention the three crazies that live here and that horse of a dog have wreaked havoc on that carpet.


So while the hubster was recently on a trip I went out and bought myself a can of poly shades in Bombay Mahogany and a can of white gloss paint and went to town!  I also painted the little wall green to match the rest of the walls.  'Cause that beige wall covered in little hand and foot marks (I was blessed with climbers) was just nasteeee....


Here is what he came home to. 


I'm gonna be honest here, I was pretty stinkin' proud.  Do you know what he said? Do you?
He said "You made the stairs look to good, it just made the carpet look worse".  Serious.  Like a heart attack.  
Okay pull on your Pollyanna undies cause...
                            I'm getting new carpet!  
oh yeah, oh yeah...


So after 800 trips to every local carpet place within a 50 mile radius, my stairs now look like this.


Did you notice all the "junk" on that goofy plant ledge?  It is a hobby of my boys to see if they can land helicopters, planes, wrappers, window crawlers, etc. up there.
Sigh.
The joys of boys.

One last before and after:


What do you think.  I'm loving them!

I'm linking up to these awesome parties:

Tuesday, March 27, 2012

Easter Egg Traditions

Pin It

When my oldest was just a peanut and we began dying Easter eggs he didn't like hard boiled eggs.  So I would dye raw eggs and use the eggs in cooking or baking.


Then I remembered a really fun tradition I saw a lot of when we lived in South Texas.  Cascarones!  Cascarones are egg shells filled with confetti and broken over people's heads for good luck on Easter morning.  


So I began cutting a  hole in the bottoms of the eggs (each time I needed an egg for baking) and then the kids fill the shells with bird seed using a funnel.   Cover the hole with tissue paper and glue when the egg is done.  You can buy Cascarones at stores like Walmart but I figured, hey, I have the eggs, why not?


As you can tell from the glorious picture below we used to use the traditional confetti but trust me it makes a gawd awful mess, and with bird seed the birdies are happy too.  


As the kids got older I was forced to come up with a second activity (never a dull moment), because each kiddo always has their "favorite" egg that they can't bear to turn into a Cascarone.
So we began turning our favorites  into a diorama egg to display every year.  Here is how:


Step one:
Agonizingly decide which egg is the favorite


Step two:
Spray the dyed egg with a sealant to protect the color, because your fingerprints will lift the color right off the egg.  I use Aleene's sealer (bought it at Michael's), but I'm sure any will do. Oh, and I don't cook with this egg. Because of the sealant this egg just goes down the drain.


Step three:
Cut a hole in the front of the egg.  I have found that a pair of sharp embroidery scissors work best.


Step four: 
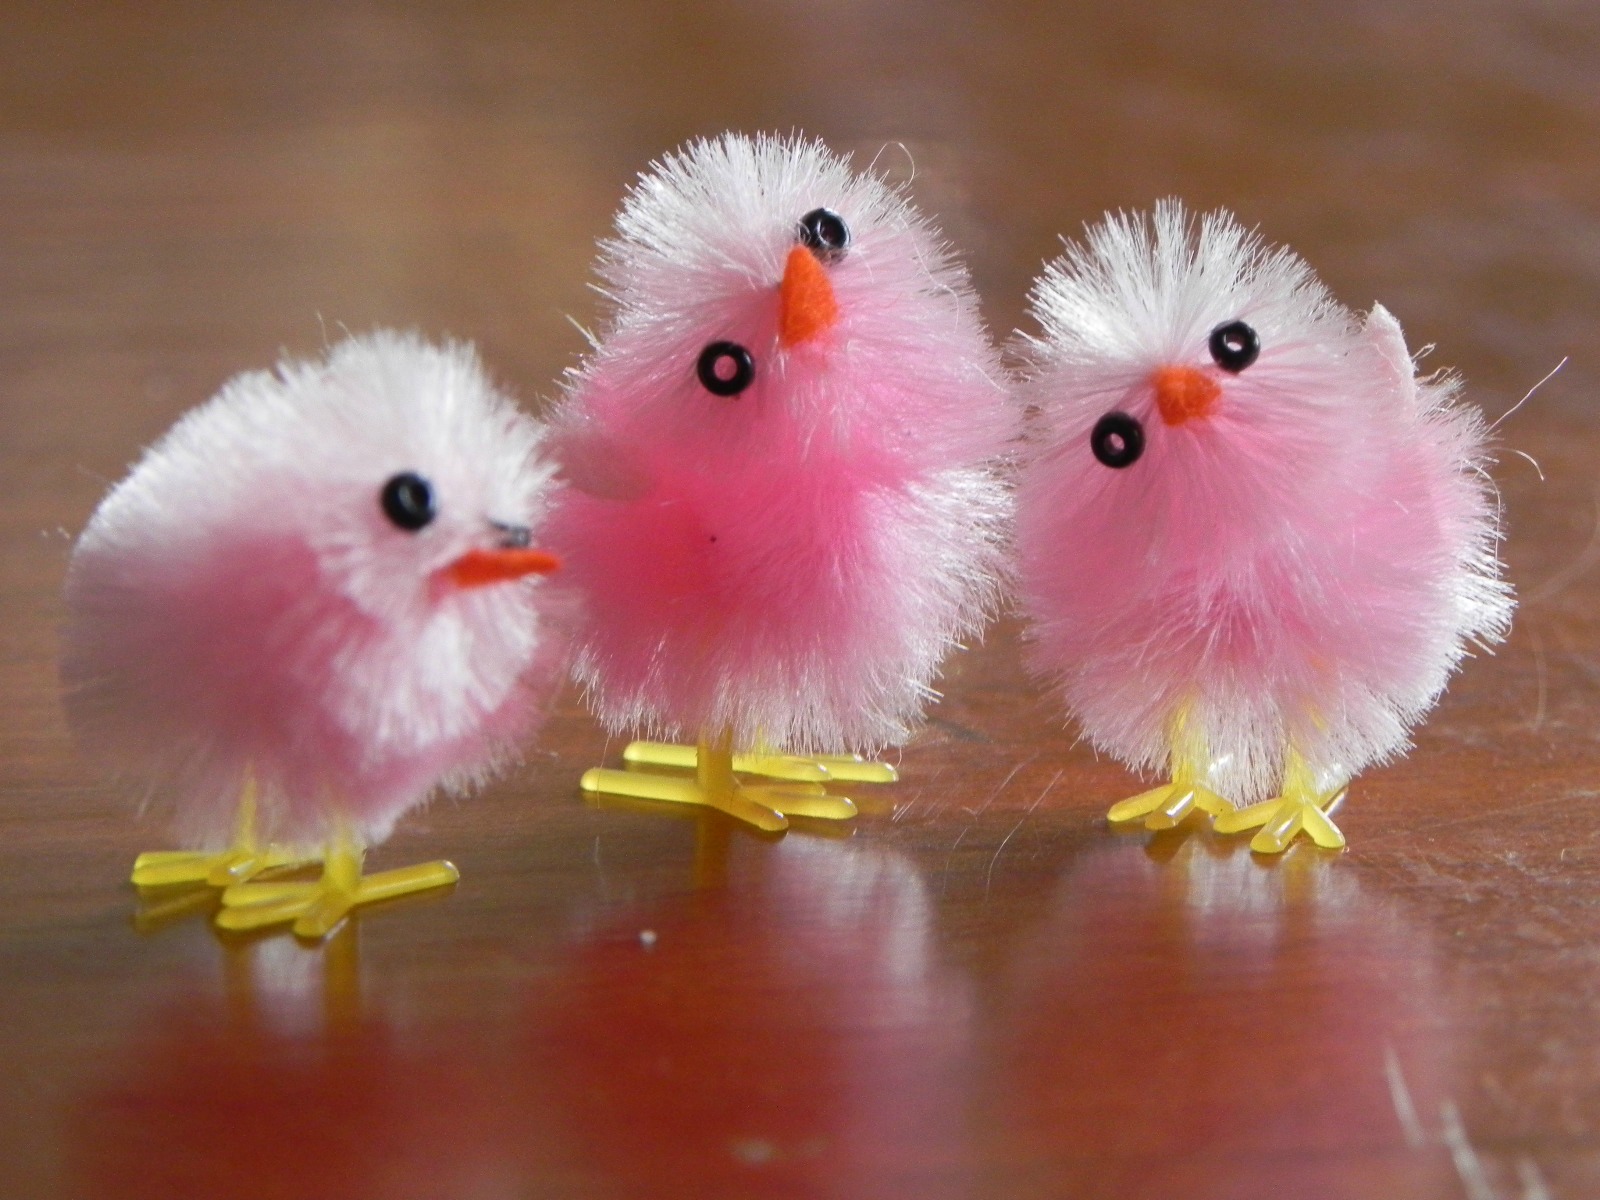
Agonizingly choose how to decorate the inside.  We have glitter, glitter glue, little glass animals, flocked Easter bunnies, you name it.  Sister choose these cuties:


Step five:
Hot glue your fingers to egg sustaining multiple burns chicks into egg.  Carefully.


Step six:
Glue ribbon around egg opening.


Step seven:
I always glue a flat bottomed "guy" with a string to the top of the egg as the hanger.  They usually come in a package (I think they are for mini trees) at Michael's or Hobby Lobby.


My mom uses ribbon tied with a knot inside the egg.  That is just more than my blistered fingers can handle.


The kids love going through all their old eggs.  And remembering what their "favorites" were each year


Happy Easter egg dying!
P.S. 
I'm linking up to these awesome parties:


project queen-turning the daunting into the do able #27
skip to my lou- made by you monday #93
savvy southern style-wow us wednesdays #59
home stories a to z-tutorials tip link party #54


Sunday, February 26, 2012

Lamp Shade Latitude and Longitude

I have long admired the demijohn lamps in Pottery Barn and it kills me when bloggers show a table full of demijohns they found at goodwill or better yet just beside the road!  Seriously. 
Where do you people live?  The Land of the Lucksters, obviously.  
Needless to say I couldn't find a demijohn where I live to save my life.  But my mom did find this little number at Goodwill for $3.99.  Many Thanks mommy!


Okay, so he isn't a demijohn (not even when I squint) but I liked him.  He had ripped black felt on the bottom that I painstakingly goo be goned off (my tennis elbow screaming in pain the whole time). 
He needed a special top hat so off to Target I ran (any excuse, right?)  and bought the bigger version of the lampshade I used here.  

I've seen a couple lampshades on pinterest with numbers on them but I wanted something special...I decided to go with the latitude and longitude of the town where the hubsters and I grew up, met, and fell in looooove. 
Using these supplies:


I made this:


When the lamp is turned on you can't really see the numbers.  


Awwwwwwww....so sweeeeeet.  I haven't been blogging much since I have been slogging my way through a h.u.g.e project.  It is the never ending project. Whew.  Can't wait to show you!

School House Scraps- Weekend Wind Up
skip to my lou- made-by-you-monday-89
home stories a to z- tutorials-tips-link-party
savvy southern style- wow-us-wednesdays #55
no minimalist here-open-house-party #29
project queen-turning-the-daunting-into-the-do-able #23

Thursday, February 9, 2012

A New Life For Some Old Frames

I have had these two pictures hanging on either side of my sliding glass door for for-eva.  My friend made them for me when we first moved in and decided on a rooster theme (it was the era of "themes" what can I say?).  She had the wallpaper up in her kitchen and just cut two roosters off her leftovers and "mounted" them on some paper. 


They were cute but I was done.  And just ask the Hubsters, that is not a good place for me to be.  Done with roosters and chickens.  I love them but...done. So my wheels got to turning.  I found this on pinterest, no source though, so thanks, whoever you may be...


                            I'm so making this and hanging it next to the table!


I printed it out on my silhouette and put it  right onto the glass totally crooked.  Of course.  But, ya know what, it wouldn't be my home if it was perfect.  So I will just grit my teeth and move right along.  I put burlap behind the glass and hung it low on the wall.


Then I popped over to the Graphics Fairy (LOVE) and found this guy:


                                   source:    


I placed him over an old cookbook page I found through google using fotoflexer and came up with this:


He is sooooo cute.  Feel free to take him!  I ran over to Office Max and had him printed up for .89 cents!


I can write a little note on him or our menu for the night with a dry erase marker!  I loooooove him!
I hung him above the table manners picture.  The frames are in terrible shape, but I am going to repaint our kitchen and I want to paint them some fun color.  Just not sure what yet.  


And the best part is it only cost me .89 cents.  I had everything else on hand!


Pin It

I'm linking up:
skip to my lou made-by-you-monday-83
The Graphics Fairy