Sunday, February 26, 2012

Lamp Shade Latitude and Longitude

I have long admired the demijohn lamps in Pottery Barn and it kills me when bloggers show a table full of demijohns they found at goodwill or better yet just beside the road!  Seriously. 
Where do you people live?  The Land of the Lucksters, obviously.  
Needless to say I couldn't find a demijohn where I live to save my life.  But my mom did find this little number at Goodwill for $3.99.  Many Thanks mommy!


Okay, so he isn't a demijohn (not even when I squint) but I liked him.  He had ripped black felt on the bottom that I painstakingly goo be goned off (my tennis elbow screaming in pain the whole time). 
He needed a special top hat so off to Target I ran (any excuse, right?)  and bought the bigger version of the lampshade I used here.  

I've seen a couple lampshades on pinterest with numbers on them but I wanted something special...I decided to go with the latitude and longitude of the town where the hubsters and I grew up, met, and fell in looooove. 
Using these supplies:


I made this:


When the lamp is turned on you can't really see the numbers.  


Awwwwwwww....so sweeeeeet.  I haven't been blogging much since I have been slogging my way through a h.u.g.e project.  It is the never ending project. Whew.  Can't wait to show you!

School House Scraps- Weekend Wind Up
skip to my lou- made-by-you-monday-89
home stories a to z- tutorials-tips-link-party
savvy southern style- wow-us-wednesdays #55
no minimalist here-open-house-party #29
project queen-turning-the-daunting-into-the-do-able #23

Thursday, February 9, 2012

A New Life For Some Old Frames

I have had these two pictures hanging on either side of my sliding glass door for for-eva.  My friend made them for me when we first moved in and decided on a rooster theme (it was the era of "themes" what can I say?).  She had the wallpaper up in her kitchen and just cut two roosters off her leftovers and "mounted" them on some paper. 


They were cute but I was done.  And just ask the Hubsters, that is not a good place for me to be.  Done with roosters and chickens.  I love them but...done. So my wheels got to turning.  I found this on pinterest, no source though, so thanks, whoever you may be...


                            I'm so making this and hanging it next to the table!


I printed it out on my silhouette and put it  right onto the glass totally crooked.  Of course.  But, ya know what, it wouldn't be my home if it was perfect.  So I will just grit my teeth and move right along.  I put burlap behind the glass and hung it low on the wall.


Then I popped over to the Graphics Fairy (LOVE) and found this guy:


                                   source:    


I placed him over an old cookbook page I found through google using fotoflexer and came up with this:


He is sooooo cute.  Feel free to take him!  I ran over to Office Max and had him printed up for .89 cents!


I can write a little note on him or our menu for the night with a dry erase marker!  I loooooove him!
I hung him above the table manners picture.  The frames are in terrible shape, but I am going to repaint our kitchen and I want to paint them some fun color.  Just not sure what yet.  


And the best part is it only cost me .89 cents.  I had everything else on hand!


Pin It

I'm linking up:
skip to my lou made-by-you-monday-83
The Graphics Fairy

Wednesday, February 8, 2012

Pancakes and Play doh

Some days are just pajama wearing, hang out in the house all day, kind of days.  Actually, now that I think about it, that is how sis and I have spent the majority of these short winter days.  

When I asked her today what she wanted for lunch she answered with a sassy "Pancakes and Play-doh".  Well, what the heck.  Why not?

I went to get out all of our play-doh but all I found were dried up crumbs and open baggies with rock hard black play-doh inside.  
Are we the only ones who always end up with six containers of black play-doh? My OCD starts kicking in something fierce when they begin to mix up play-doh colors.  I just have to walk away.


I was afraid I would have to let sis down when I remembered that I had pinned a recipe for kool-aid play-doh from here: playdoughrecipe.org

So Sis and I got to work concocting our very own home made play-doh:


Ingredients for Koolaid Play-doh:

  • 1 cup flour (up to 2 if you feel the dough is to thin
  • 1 cup boiling water (I mixed the dough until it was cool enough for sis to handle)
  • 3 Tbsp. oil
  • 1/2 cup of salt
  • 1 package of koolaid (we used orange)
Directions:

  • Mix all ingredients together except water
  • Add boiling water
  • Knead ingredients until thoroughly mixed
  • Add more flour in necessary to create a soft dough
  • Start playing!


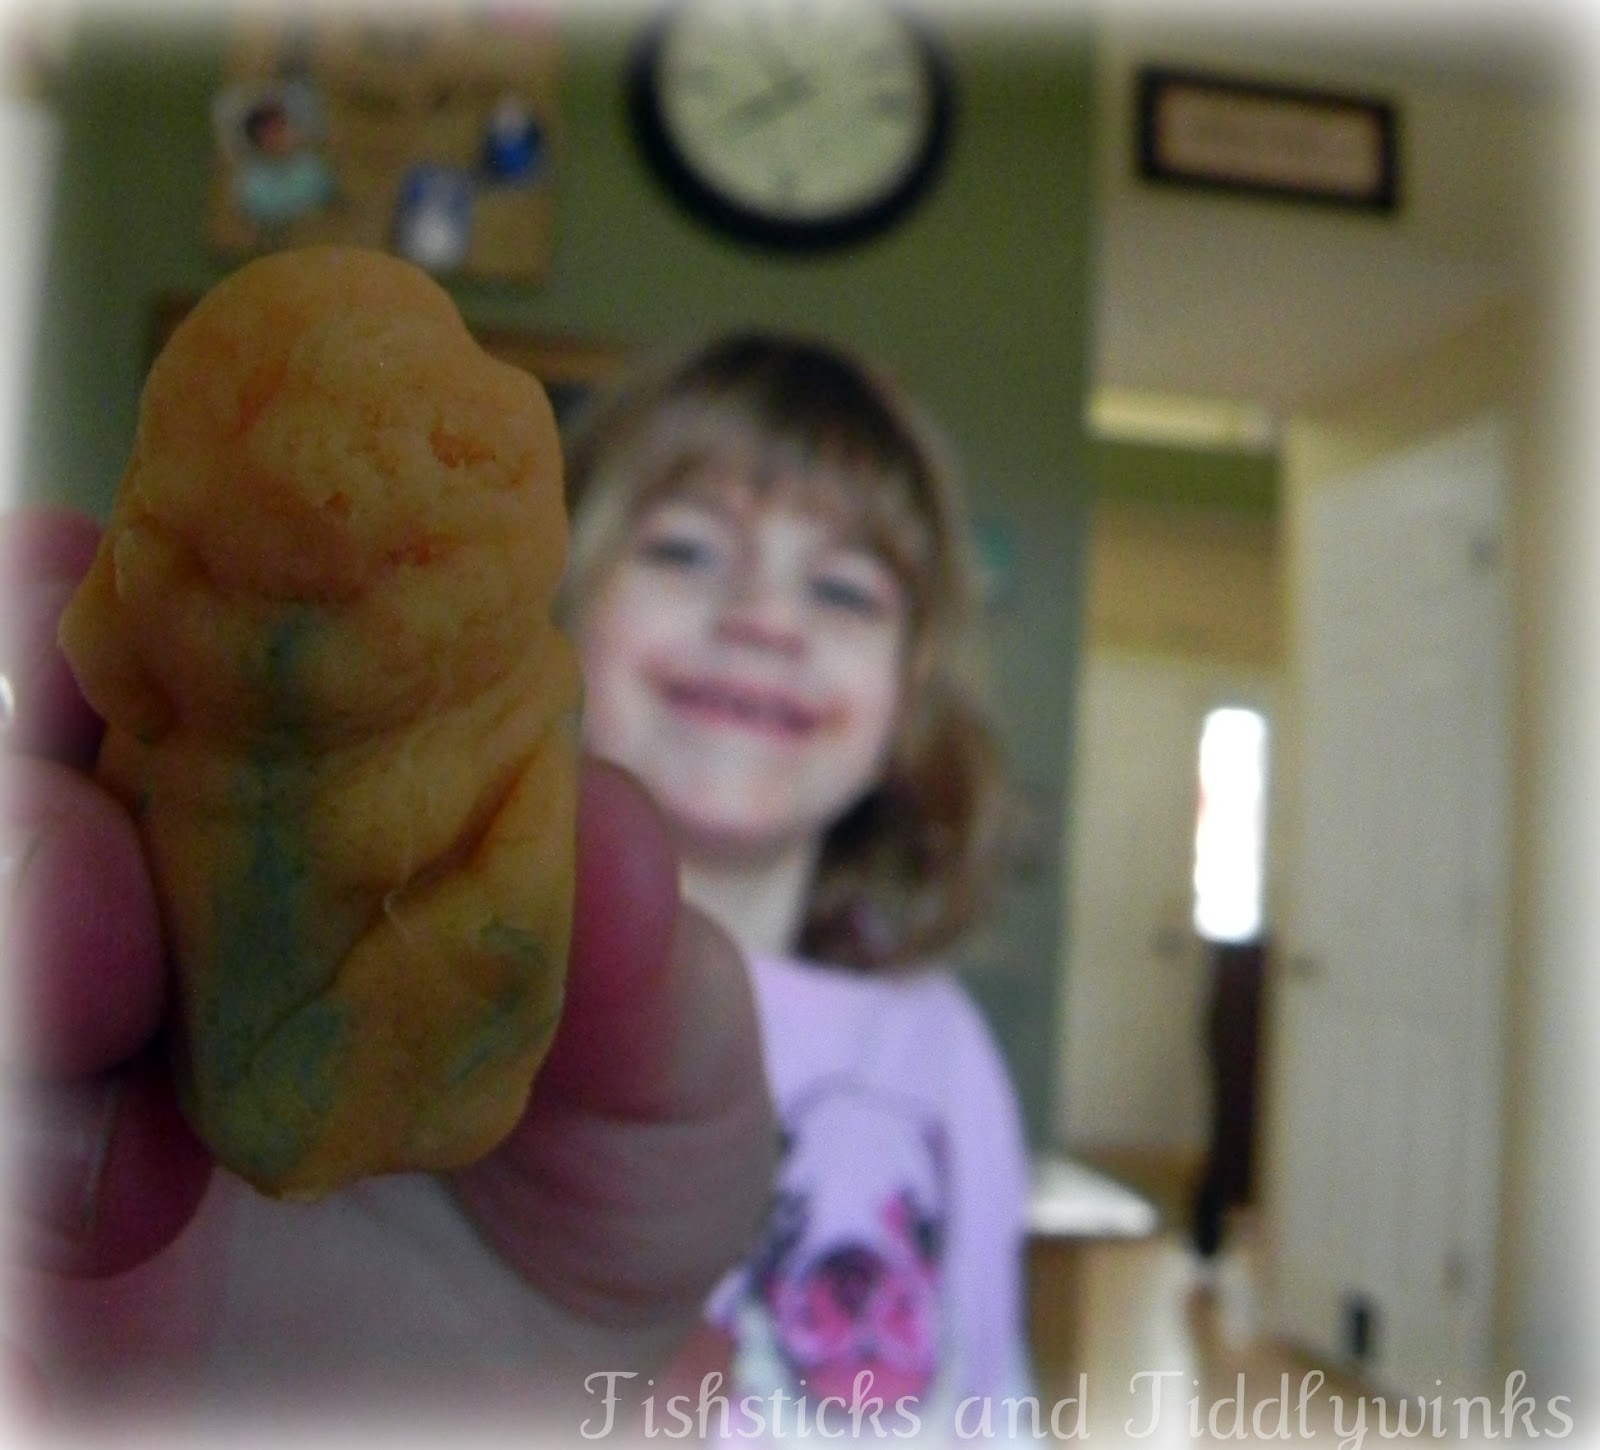
She had so much fun eating her pancakes and playing with play doh.  Time is flying by with my little ones.  Her big brothers are gone off to school all day and in the blink of an eye she will be too.  I cherish these moments with my little gal.


Linking up:


Pin It

Friday, February 3, 2012

Old Window Love

I have a weakness when it comes to lamps and old windows.   I just can't turn a good one away.   
So, late one afternoon I was coming home from a successful couponing venture (yes, I am that crazy coupon lady) when I spotted two old chippy windows sitting next to some one's trash cans.  Brakes squealed, and one crazy coupon lady almost fell out of her car to rescue two beautifully aged windows from certain demise...pant...pant...pant.  
This weakness all started a couple of years ago when the hubster rescued this window from some one's trash and my window obsession was born.


This is actually the back.  The front had been painted barn red and the previous owner had stapled cardboard to this side and filled the inside with dried flowers.
When I ripped the cardboard off and saw this green I fell in love.


Sorry for all the glare on these pictures.  On a little side note, while taking these pictures I noticed that mister 10 has been busy decorating also:


I'm not sure when he turned his brother into Dr. Oz, but that boy sure can make me giggle!
okay, back to my windows.  My new beauties had so much paint on the glass that it took literally a week and  five razor blades to scrap it all off.  There were two panes of glass that broke in the process but I finally got them up and ordered 12 5x7's of the kiddos to put inside.


Grrrrr....after all that the pictures were waaaaay to small.  We have a two story entry way and these are in the upstairs hallway.  I wanted a bigger impact.  After a trip to hobby lobby for two new panes of glass and a rather pricey order for nine 8x10's (the hubster of course is grumbling the whole way), I scrapped my original idea for this:


Because of the cost of the 8x10s I decided to only buy 9 and make a quote (it says "I love you a bushel and a peck and a hug around the neck"-in case you can't read the quote) on my Silhouette to place in the blank spots.  


Our silly dog felt the need to get in on the photo action.  She is as bad as the kids when it comes to photo ops.  I had to hang them high because my lovey doves  are anything but careful.  And after all this the last thing I wanted to hear was a loud crash followed by a very quiet "um...mom". 
Gosh, they look really high in this picture though.  I don't feel like they look this high in reality.  Does the camera add ten pounds and six inches - that's what she said ;)


I used these scrap booking photo corner thingies to hold the photos in place.  That way I can change out my pictures if I ever feel the need.  Just reverse them from the way you would if putting them in a book.  That way the sticky side is to the glass.


*sigh* it always feels so good to complete a project and fall in love with it.


I'm linking up to:


Skip to my Lou


Home Stories A2Z


 Pin It

Thursday, January 26, 2012

Sewing Table with Chalk paint by Moi

When my parents moved out of their old house my mom gave me an old sewing table she didn't want anymore.  My dad had been using it as his bedside table, and the number of cup rings on the top of this thing was insane!  I mean, seriously, I'm giving the man coasters for Christmas this year! I don't have a before picture of it but I found this picture online of a similar one:
It was no where near this condition.  There is a huge crack down the center top and it was in overall 'weathered' condition, to put it mildly.  I love old and chippy, but this just looked...beat on.

The hubster has ma-ha-ha-jor issues with painting any wood - am I the only one that has to deal with this?  It takes weeks of gentle hints, showing him pictures, and generally coaxing him to take deep breaths.  Sheesh.  

I dream of Annie Sloan chalk paint but also of being debt-free, so I thought I would try my hand at mixing my own.  There are a gazillion tutorials out there on how to do it so I figured, what the heck.

I used non sanding grout and some clearance paints I found at home depot.  I just kinda eyeballed the measurements.  A couple of Tbsp. of grout to a couple cups of paint.  You have to work fast 'cause this stuff wants to set up quickly.  

I didn't take step by step pictures.  Like I said, I had to work fast.  Here it is all purdied up.  I love the chalky finish.


Much to the chagrin of the hubster I decided to leave the drawers the original finish.  They were still in good condition and when I stuck them back in I really liked the pop.  He thinks it looks '80's - I think he has issues.  

I lightly distressed a couple of spots with a sanding block and sealed the whole thing off with some furniture wax.


I'm kinda digging the contrast.


Sorry for a picture with Christmas decorations...what kind of blogger am I? but I wanted to show a picture of the table in the room and this is the picture I had.  I think it turned out pretty stinkin' cute!


I'm linking up to:

Furniture Feature Fridays


Pin It

Monday, January 23, 2012

Goodwill Box

While perusing the shelves at goodwill the other day I stumbled across this little fella for .99 cents:

It's made of pretty cheap wood but for under a dolla' I was okay with it and I knew I was going to spray paint it anyway, so whatevs. I was originally going to put sister's crayons and markers in it. But then I thought maybe I would put it on my counter to hold soap and washcloths.  
I thought the handle would be pretty stained so I taped it off before spray painting.
I spray painted the box with Rustoleum's Green Apple since it's yuck outside and I wanted cheery inside.  On a side note-it is waaay to cold to spray paint in the garage at this point so I have to do it in the basement (it gets reeeeaaaaal cheery down there after a few coats of spray paint)  :)
I distressed the whole box with some heavy grit sand paper and stained the handle with some stain I found in the garage.  It was still looking a little blah to me so I decided to try my hand at wax paper transfers I have pinned on pinterest.
Bonus!  I already had all the materials on hand!  All you need is some spray adhesive, wax paper, and a printer (mine is an ink jet).
I choose this image from the Graphics Fairy:
                                                      http://graphicsfairy.blogspot.com/

This is actually the mirror image of the one on her website, so it would transfer correctly.  It was sooooo easy!  All you do is spray adhesive onto a piece of printer paper, paste your wax paper down (with wax side facing out), and cut to the size of the paper:

Just run the wax/printer paper through your printer with wax side up (so the ink goes onto the wax side not the paper side) and rub the image onto whatever surface you want, being careful not to let the paper slide around...and Voila ... AWESOMENESS!

I sanded the image down a little once it had dried.


All in, One dollar.  One.  Yeeeeesssss (insert Napoleon Dynamite voice here).
I'm linking up to:

Home Stories A2Z

The Graphics Fairy

Pin It